A few years back, I went on a peppermint binge for Christmas. I made peppermint rock candy, peppermint sugar cookies (with peppermint frosting), mint cheesecake, and peppermint spritz cookies. While everything turned out great, the biggest hit was the spritz cookies. They’ve become an annual tradition. These minty bites are my trademark Christmas treat.
For years, I’ve held off sharing my secret. These are my treats, dang it, and I love having people implore me for my secret to soft, minty fresh mouthfuls.
So what’s my secret? Cookie mix. Yep, I don’t make the dough from scratch; I modify cookie mix. I usually use the Betty Crocker Sugar Cookie mix, but I think pretty much any pouch of cookie mix would work here. (This post is not sponsored by or affiliated with Betty Crocker. I just like their mix.)
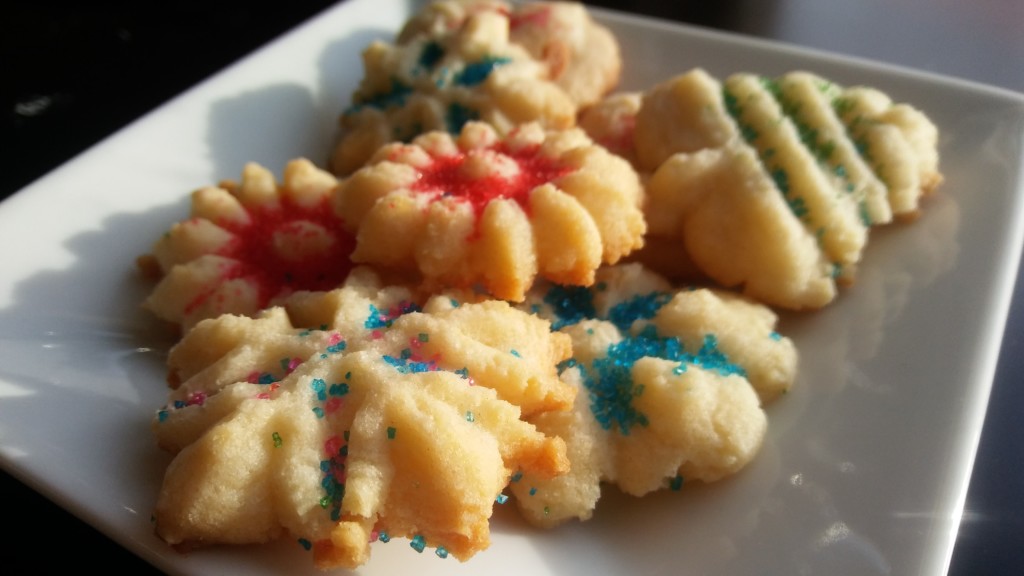
Also, for spritz cookies, you’ll need a cookie press. A cookie press forces the dough through a little disc, which gives the cookie it’s unique, fun shape.
The cookie press also keeps the cookies a uniform size. Sometimes with cutout sugar cookies, you have some large cookies and some small cookies on the same tray. So the big cookies aren’t quite done when the smaller ones are turning brown. The cookies cook uniformly and perfectly each time. It also keeps the cookies tiny and bite sized.
The peppermint combined with the little size makes them the perfect after dinner cookies this holiday season!
Easy Peppermint Spritz Cookies
Servings: about 30 cookies
Time: 30 min
Difficulty: Easy

Ingredients
– 1 pouch of sugar cookies mix – not the mini pouches
– 1/2 cup all purpose flour
– 1 stick of butter, melted
– 2 teaspoons peppermint extract
– 1/2 teaspoon vanilla extract
– 1 egg, lightly beaten
– colored decorating sugars
Directions
1. Preheat the oven to 375. Combine the cookie mix and the flour in a large mixing bowl.
2. Add extracts to melted butter and stir. Add melted butter & extracts to the flour and cookie dough mix. Add egg and stir. It will be very clumpy at first, but keep working it and it will eventually come together.
3. Fill the cookie press with dough and fit your desired design disc to the end. Press the dough through the press directly onto the cookie sheet. The first couple presses usually fall apart for me while I get the air out of the press. Don’t worry if the first few aren’t right!
 4. Before baking, sprinkle the cookies with colored sugars. The sugars will bake right into the cookies. It’s way easier than trying to put icing on little cookies and they still look super festive! This is also a great task for little hands. My daughter sprinkled sugars while I pressed the cookies out.
5. For softer cookies, bake 5-6 minutes. The cookies will look a little under done, but small cookies like this go from raw to crunchy in no time. For firmer cookies (like Danish Butter cookie style), cook 7-8 minutes.
 6. Cool the cookies on the sheet for 1-2 minutes, then transfer to a cooling rack.
7. Once the cookies are cooled, store in an airtight food storage container. These cookies keep at room temperature very well when stored in an airtight container.
This post was originally published on WellRoundedMom.com.
Chryssy is the owner of WellRoundedMom.com, a site dedicated to helping parents make the most of life. She lives in Green Bay with her husband, five-year-old daughter, and one-year-old son. You can follow her on Facebook and Pinterest for the latest content.
Check out these other links from Well Rounded Mom:
Getting Fed on a Fed Up Day