Terracotta Turkey
Tutorial & Photos by Kandace Sechler – Owner of Hello Lemon Studio
This is a great last-minute touch to add to your Thanksgiving gathering! It can be used as a festive decoration around the house, part of your dinner table centerpiece or as “place card” for your guests if you want to create one for each place setting. Do it at home, or visit Hello Lemon Studio in De Pere where they will have all the supplies on hand and do it there.
Supplies:
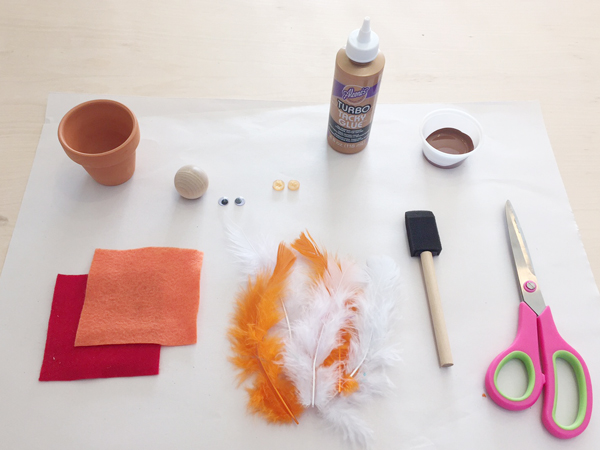
– small terracotta pot
– small wood ball
– red & orange felt
– feathers
– buttons
– googly eyes
– tacky glue
– brown paint
– paint brush
– scissors
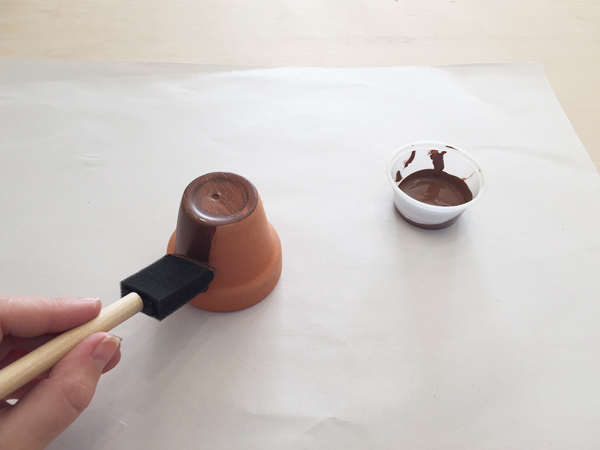
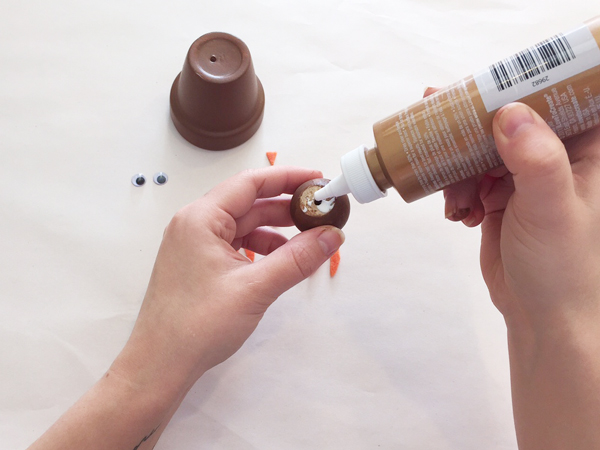
Step 1
Turn the terracotta pot upside down. Paint the pot and the round wood ball using the brown paint and paintbrush.
Turn the terracotta pot upside down. Paint the pot and the round wood ball using the brown paint and paintbrush.
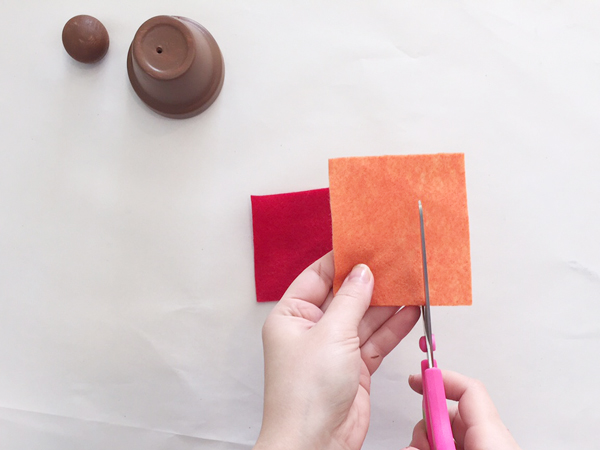
Step 2
While the pot and ball are drying, cut out your feet, beak, and wattle (the red part that hangs from the turkey’s neck).
While the pot and ball are drying, cut out your feet, beak, and wattle (the red part that hangs from the turkey’s neck).
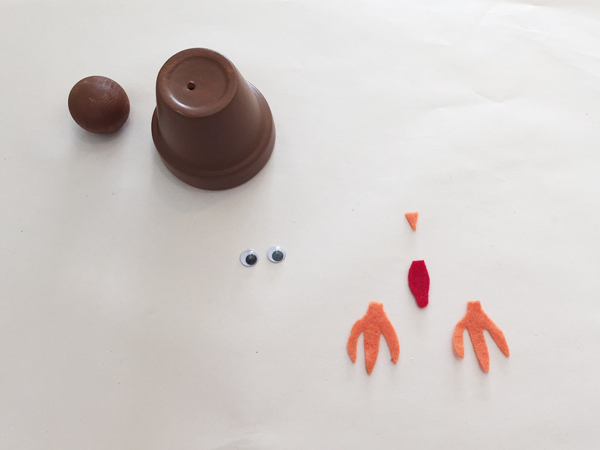
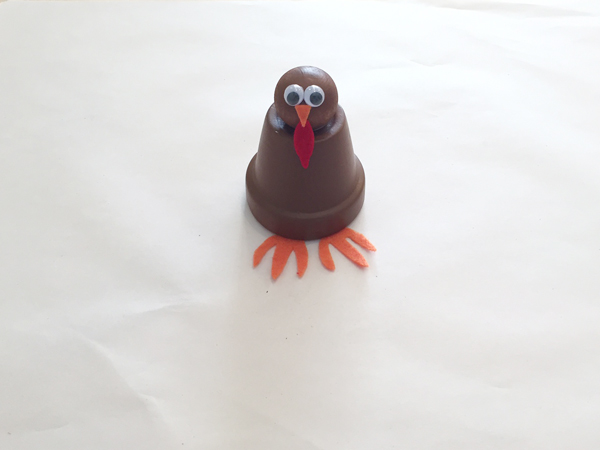
Step 3
Using the tacky glue, attach the ball to the top of the pot. Then attach the eyes, beak, and wattle to the ball. Finally, attach the feet to the bottom of the pot.
Using the tacky glue, attach the ball to the top of the pot. Then attach the eyes, beak, and wattle to the ball. Finally, attach the feet to the bottom of the pot.
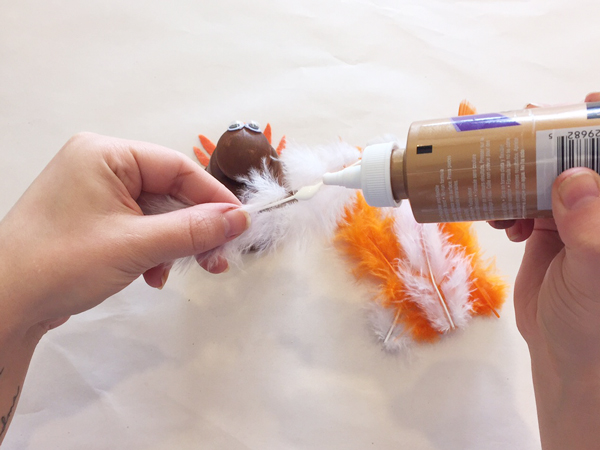
Step 4
Turn the turkey around to attach feathers to the back using the tacky glue.
Turn the turkey around to attach feathers to the back using the tacky glue.
Step 5
Add finishing touches to the turkey by attaching the buttons to the front of the body.
Add finishing touches to the turkey by attaching the buttons to the front of the body.
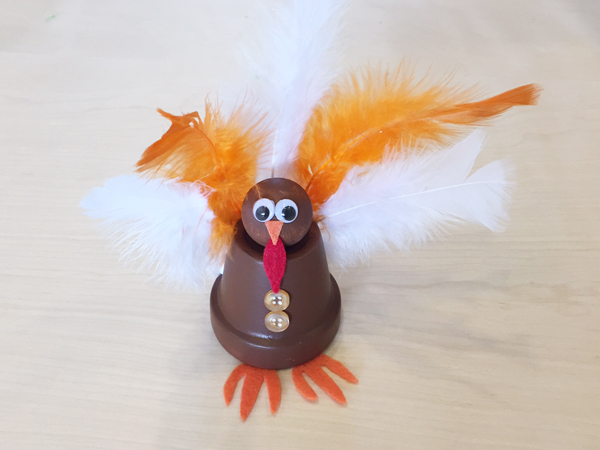
Take it a step further: if you would like to personalize each turkey or make multiple turkeys to use as place cards, use a Sharpie or paint pen to add each person’s name to their turkey!