I love decorating and fall/Halloween, so I may go a little overboard when it comes to decorating for the season. But I can’t help it. As I was putting out my decorations this year–and coming up with a few new ones–I realized how simple many of them are and that some fellow mommy’s may get some inspiration for their own fall decor after seeing them. For many of these decorations the kids could help with or even do them, making them even more special.
I hope these spark some ideas for you and that you (and your kids) have fun making something for your home!
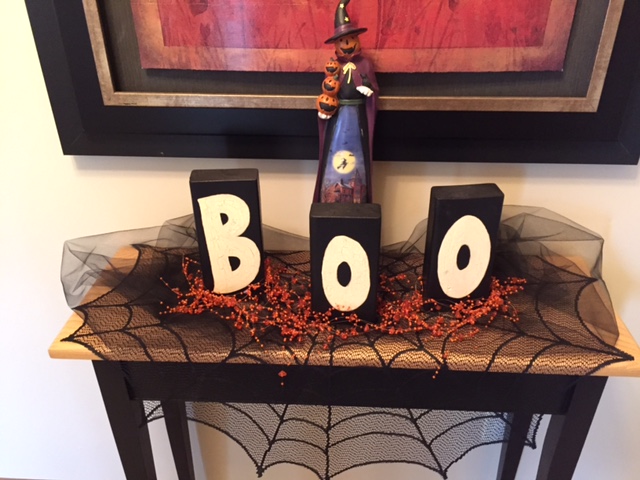
BOO Letters
These are just scraps of 2×4’s and are various sizes. Just draw the letters on and paint in whatever color scheme you would like with acrylic paint. End with an acrylic varnish if you want it to have a more finished look.
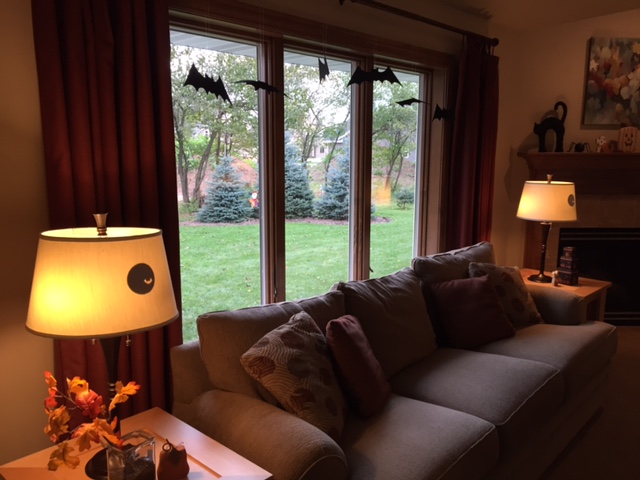
Bat Luminaries
I don’t even remember where I got this idea, but it’s basically a luminary concept for lamps. I traced a circle on black construction paper, drew a tiny bat on it and then cut the bat out with an exacto knife. I have three lamps in our living room, so I made one for each lamp. I just tape them inside every Halloween and they add a little extra ambiance to the room.

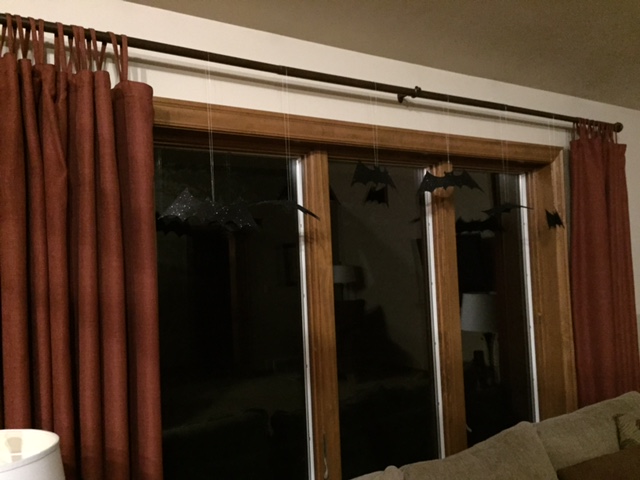
Hanging Bats
My inspiration for these came from some Halloween decorations that were at Yankee Candle one year but were not for sale. I decided I could make my own. I started working on them a few years ago but finally hung them up for the first time this year. The hardest part was finding a bat pattern/silhouette that I liked. I found mine online. I ended up using a few different patterns to add some variety. I bought large sheets of black craft foam (one side being glittery) from Michaels. Simply trace the bat pattern on the back side of the foam and cut it out. An exacto knife will give the most precise cuts. Do as many as you like. Once they were cut I used a large needle and transparent jewelry thread to poke a hole through the middle of the bat and hang. I hung mine along our curtain rod at different lengths. There are six, but with the reflection in the window it sometimes looks like there are 12. (The second photo of the bats was taken at night in an attempt to show their sparkle. It’s hard to see in the photos, but they are very sparkly and I love seeing them sparkle when the light hits them.)
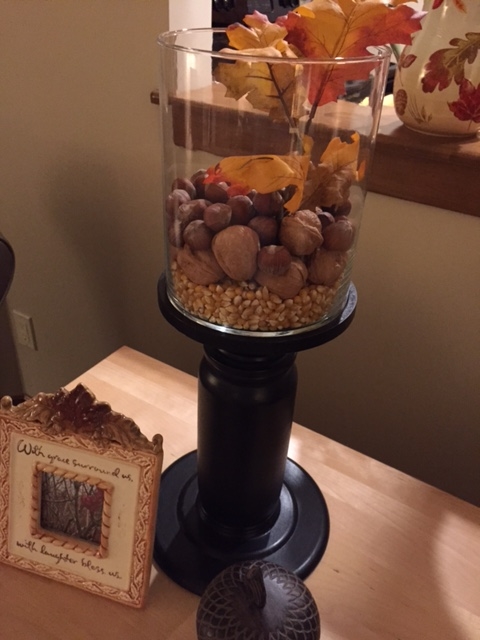
Centerpiece/Vase Filler
You can make any glass vase, cylinder or etc look great by adding some seasonal fillers. In this one I used acorns, walnuts and popcorn kernels and then stuck a leaf branch in it. Other great vase fillers for this time of year are candy corn, any kinds of nuts, black beans, sticks, leaves (real or fake) and coffee beans. Buy them once and you will have them for many years to come!
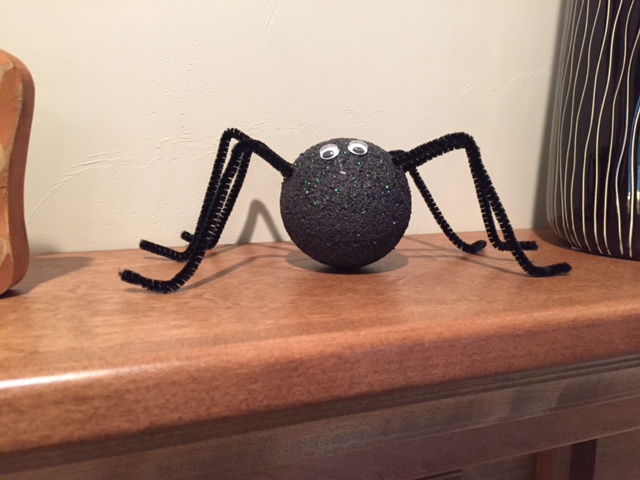
Spiders
I posted this one on Facebook a couple of weeks ago. I made these with my oldest daughter when she was probably 3 or 4 and they turned out so cute–we made six of them to set around the house. She remembers making them with me. They are very simple. Supplies needed are: styrofoam balls, black pipe cleaners, black paint and black sparkly paint (acrylic) and googly eyes. Paint the balls with the black paint until you are satisfied with the coverage. I believe we did a couple of coats as the styrofoam soaks up the paint like a sponge. Cover with black sparkly paint for extra shine. Cut pipe cleaners to desired length, push into ball and shape. Glue on googly eyes.
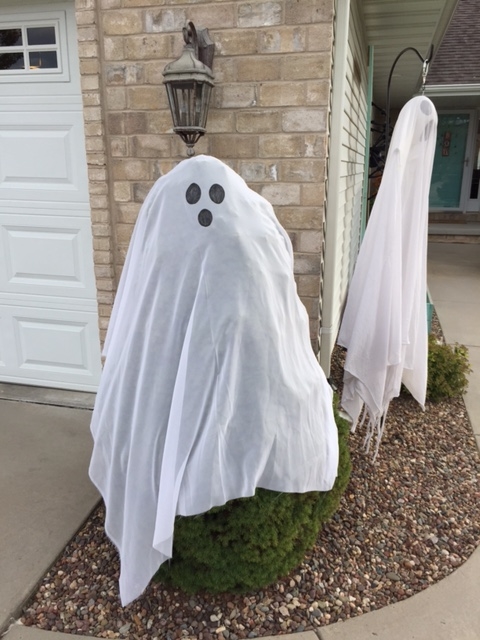
Ghosts
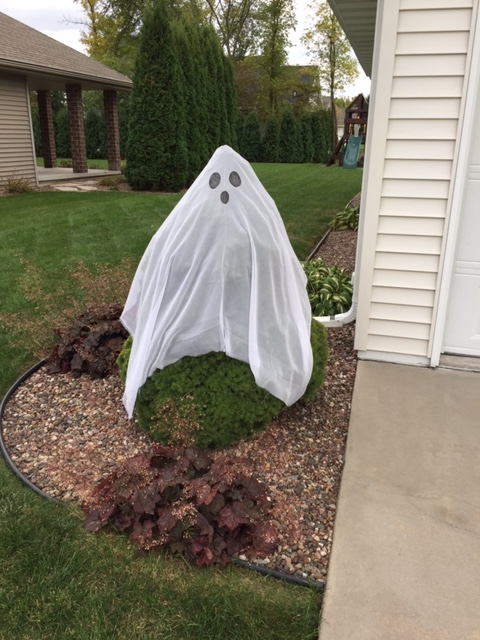
This is probably my favorite one and is new this year. We have had a hanging ghost outside for a few years and it is one of my favorite decorations. Last year the girls and I were noticing our Dwarf Alberta Spruce trees that are on either side of our garage and how they are sort of the shape of a cute, plump, ghost. I think our hanging ghost may have blown partly onto one of the trees which gave us the idea that we could drape the trees in white, flowy fabric and transform them into ghosts! I measured the trees and bought as much fabric as I could to cover as much as possible. (Since the fabric was only a certain width I couldn’t get them to cover the whole tree without doing some sewing, but I think they look great.) I drew the eyes and mouth on with a permanent marker. I think they look adorable. I’m not sure how they will hold up in the rain, so I’ve been bringing them in if rain is in the forecast. On a windy day they might blow off (although the needles on the tree do a good job holding them in place), so I have some white yarn on-hand to tie around the tree and fabric if needed.
Ghost #1
Ghost #2
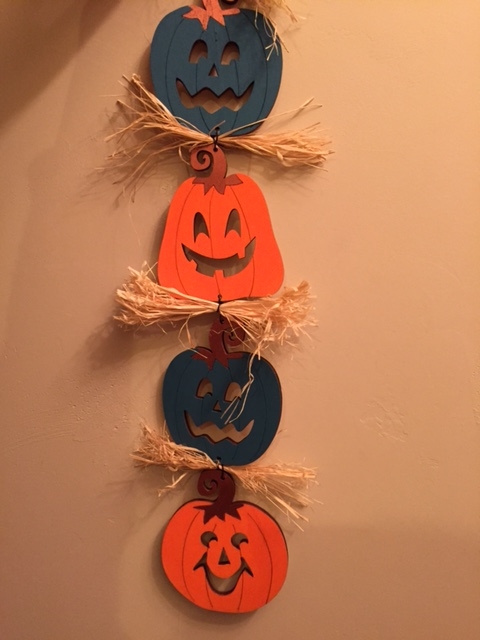
Wooden Crafts
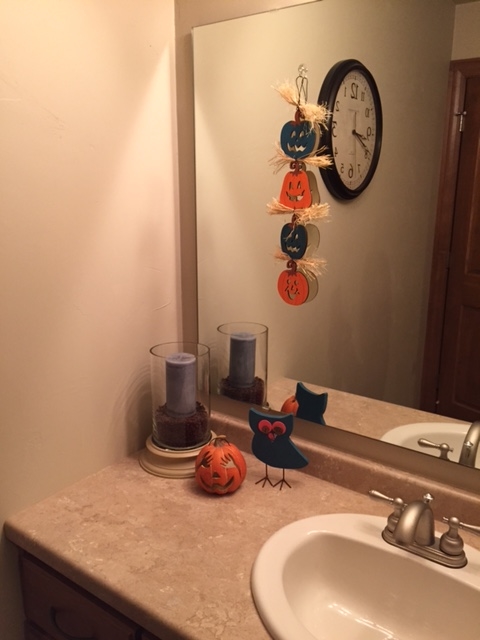
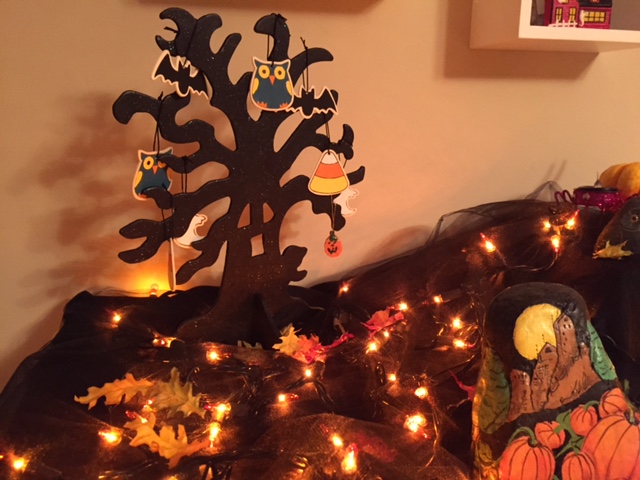
You can’t go wrong with these. They are cheap, easy and cute! You can find them at any of the local craft stores. The beauty of these wooden cut-outs is the kids can’t really make a major mistake on them and with a few additional touches or touch-ups (possibly by mommy), they can look super cute around the house. This year my 4-year old painted a spooky tree that we are using in a ‘spooky village’ in the girls’ room. And I found some candy corn cut-outs that were too cute and cheap to pass up, though I’m not quite sure what I’m going to do with them yet. I also bought some hanging pumpkins to paint myself to use in our spare bathroom. I wanted certain colors and this way I could get them.
Spooky Tree: Before

Spooky Tree: After
She just painted 1 coat of black paint on both sides of the tree and its stand and then a coat of black sparkly paint over everything to finish. (I painted all of the little hanging ornaments that came with the tree as those were too small for her fine motor skills at this point.) She did a great job, had fun and feels proud to have one of her decorations on display.
Candy Corn: Before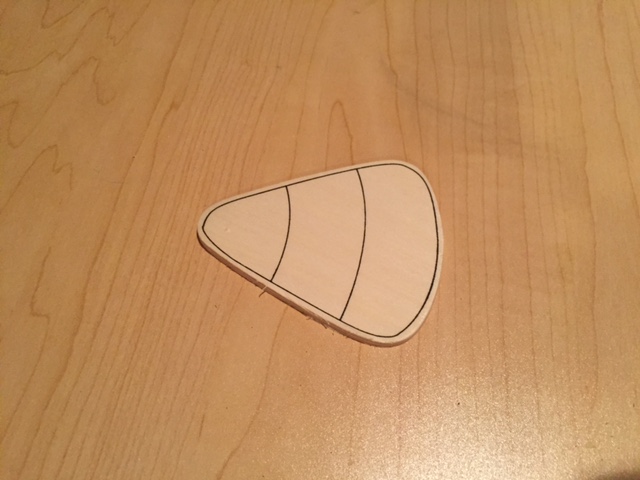
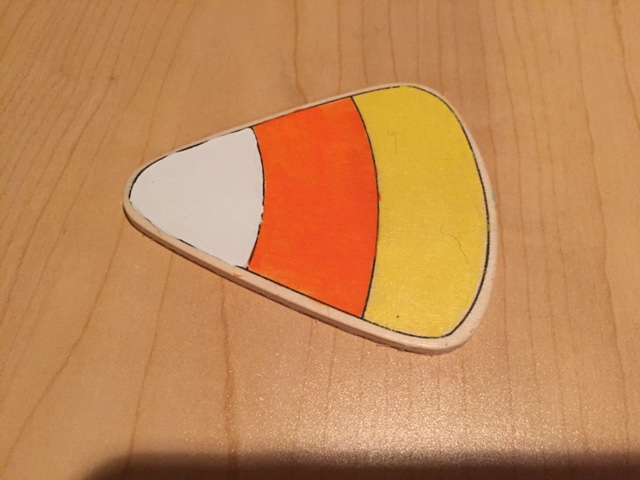
Candy Corn: After
Each of the girls painted one of these. This one was done by my 7-year old.
She did a great job staying in the lines!
Hanging Pumpkins: Before
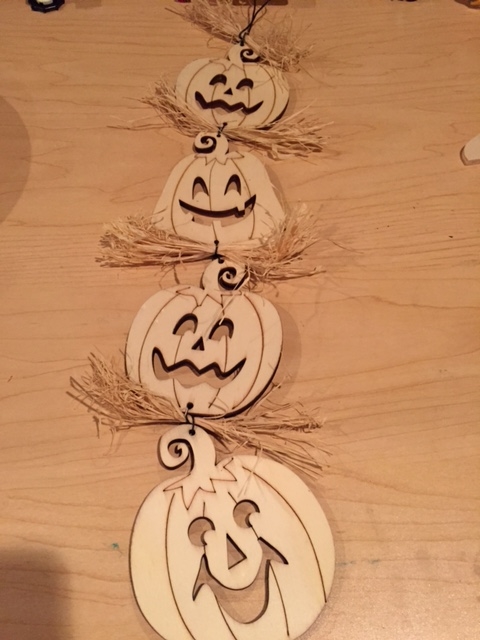
Hanging Pumpkins: After